In einem neuen Land ohne Signal anzukommen ist ein schneller Weg, Zeit und Geld zu verschwenden. Wenn du nach der Installation einer eSIM auf dem iPhone suchst, die gute Nachricht lautet: Die Einrichtung dauert meist nur wenige Minuten, und du kannst sie vor deinem Flug, am Gate oder direkt nach der Landung durchführen. Keine physische SIM-Karte, kein Ladenbesuch und keine überraschenden Roaminggebühren von deinem Heimatanbieter.
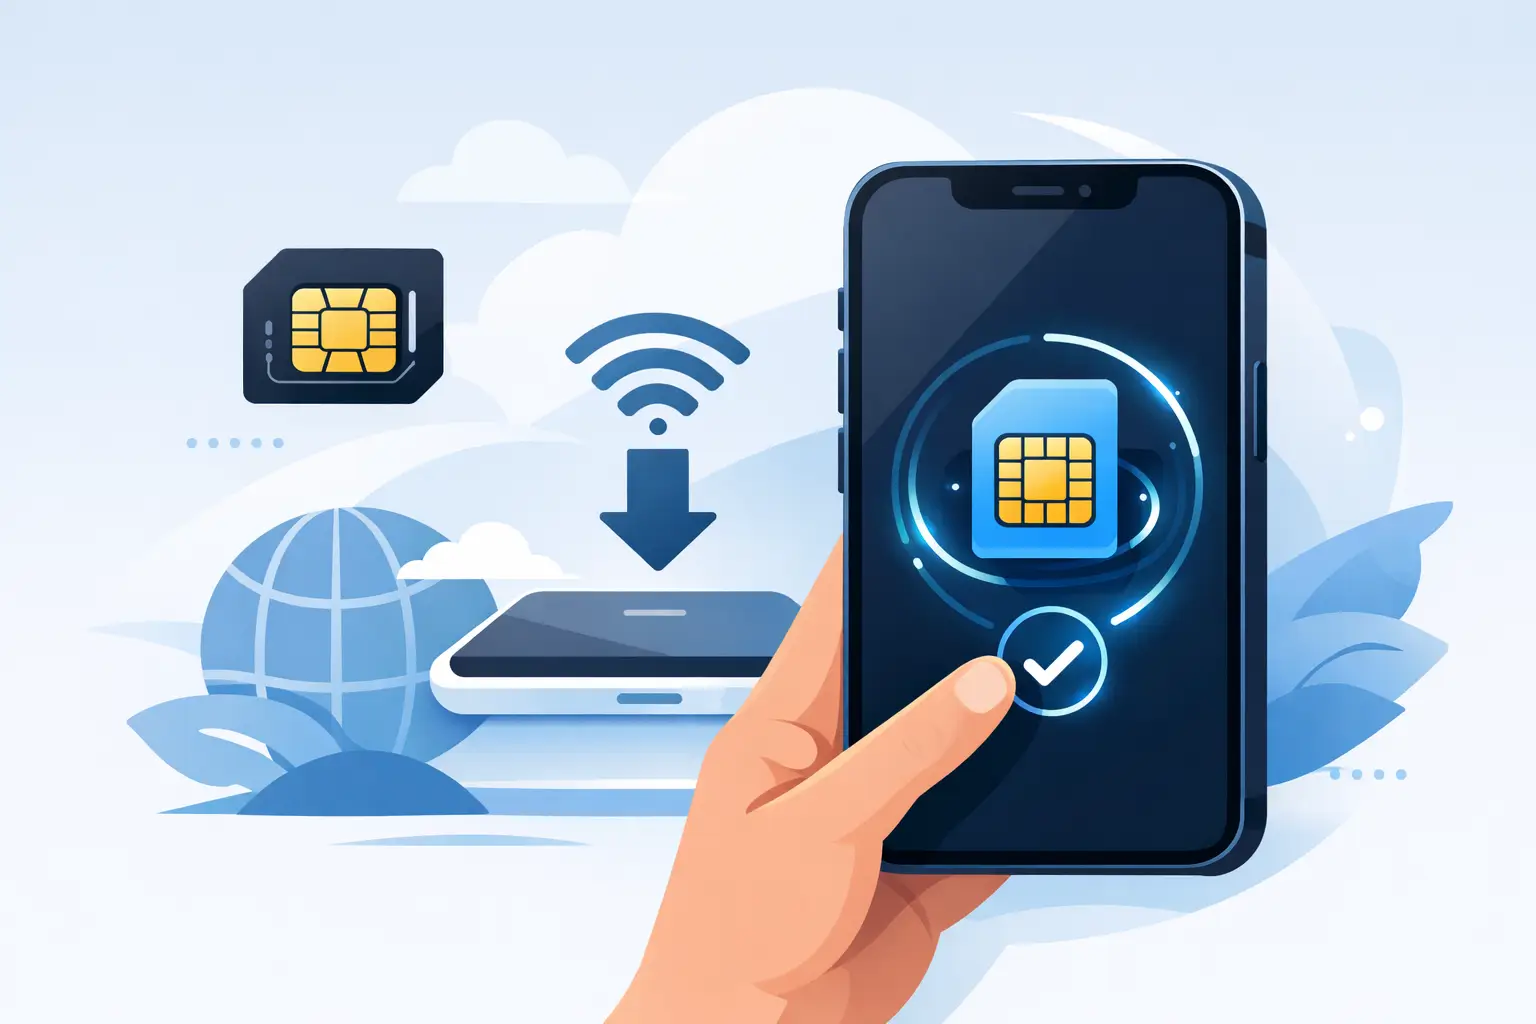
eSIM auf dem iPhone installieren - Schritt für Schritt
Die meisten Reise-eSIMs für iPhone werden mit einem QR-Code installiert. Nachdem du einen Tarif gekauft hast, schickt dir dein Anbieter den Code per E-Mail oder zeigt ihn im Bestellbildschirm an. Von dort aus ist die Einrichtung einfach.
Öffne die Einstellungen und tippe auf Mobilfunk. Auf manchen iPhones kann dieses Menü je nach Regionseinstellungen auch Mobile Daten heißen, US-Nutzer sehen meist Cellular. Tippe auf eSIM hinzufügen und wähle dann QR-Code verwenden. Scanne den erhaltenen QR-Code, warte, bis dein iPhone den Tarif erkennt, und folge den Anweisungen zum Hinzufügen.
Dein Telefon fordert dich möglicherweise auf, die Leitung zu benennen. Das ist wichtiger als viele denken. Wenn du deine reguläre SIM für Anrufe oder SMS aktiv lassen möchtest, benenne eine Leitung als Primär und die neue als Reise oder Daten. Das macht die nächsten Schritte deutlich übersichtlicher.
Nachdem die eSIM hinzugefügt wurde, gehe zurück zu Mobilfunk. Wähle die neue Leitung aus und stelle sicher, dass Diese Leitung aktivieren eingeschaltet ist. Tippe dann auf Mobilfunkdaten und wähle deine Reise-eSIM als Datenleitung aus. Falls dein Anbieter es empfiehlt, aktiviere das Datenroaming für die eSIM. Das klingt für manche Reisende merkwürdig, aber bei vielen internationalen eSIMs muss Roaming aktiviert sein, da der Tarif Partnernetzwerke im Ausland nutzt.
Das ist das Wesentliche der eSIM-Installation auf dem iPhone. Der Rest besteht hauptsächlich darin, zu prüfen, ob dein Telefon kompatibel ist und deine Einstellungen korrekt sind.
Vor der Installation: Diese drei Dinge prüfen
Die häufigsten Einrichtungsprobleme treten auf, bevor überhaupt ein QR-Code gescannt wird. Erstens muss dein iPhone eSIM unterstützen. Im Allgemeinen unterstützen iPhone XR, XS und neuere Modelle diese Funktion, darunter auch neuere iPhone 11, 12, 13, 14 und 15 Geräte. Kompatibilität allein reicht jedoch nicht aus.
Zweitens muss dein iPhone netzseitig entsperrt sein. Wenn dein Telefon noch an einen US-Anbieter gebunden ist, siehst du möglicherweise die Option zum Hinzufügen einer eSIM, aber der Reiseplan schlägt beim Aktivieren oder Verbinden möglicherweise fehl. Du kannst dies überprüfen, indem du zu Einstellungen, dann Allgemein, dann Info gehst und nach Netzsperrstatus suchst. Wenn dort Keine SIM-Beschränkungen steht, bist du in der Regel startklar.
Drittens stelle sicher, dass du während der Installation eine stabile Internetverbindung hast. Du benötigst Wi-Fi oder aktiven Mobilfunkdienst, um das eSIM-Profil herunterzuladen. Wenn du bis nach der Landung wartest und kein Wi-Fi am Flughafen verfügbar ist, wird die Einrichtung schwieriger als nötig.
Manuelle Aktivierung, wenn der QR-Code nicht funktioniert
Die QR-Code-Einrichtung ist die schnellste Option, aber nicht die einzige. Einige Anbieter senden auch SM-DP+-Details für die manuelle Eingabe. Wenn der QR-Code nicht funktioniert, gehe zu Einstellungen, Mobilfunk, eSIM hinzufügen und wähle dann Daten manuell eingeben.
Gib die SM-DP+-Adresse und den Aktivierungscode genau so ein, wie sie angegeben sind. Kopiere und füge sie nach Möglichkeit ein. Ein falsches Zeichen reicht aus, um einen Fehler zu verursachen. Die manuelle Eingabe ist nützlich, wenn du die Installation auf demselben Gerät durchführst, das den QR-Code erhalten hat, und kein zweites Display verfügbar ist.
Wenn beide Optionen fehlschlagen, liegt das Problem meist an einem von drei Dingen: Die eSIM wurde bereits installiert, das Telefon ist gesperrt, oder der Tarif wurde für ein anderes Reiseziel oder Aktivierungsfenster erworben. Deshalb ist es wichtig, die Tarifanweisungen zu lesen, besonders bei regionalen und Mehrland-eSIMs.
Bester Zeitpunkt für die Installation deiner Reise-eSIM
Es gibt keine einheitlich richtige Antwort. Es hängt davon ab, wann dein Tarif beginnt und wie dein Anbieter die Aktivierung handhabt.
Einige eSIM-Tarife werden erst aktiviert, wenn sie sich mit einem unterstützten Netzwerk am Zielort verbinden. In diesem Fall kannst du die eSIM vor der Reise installieren, ohne den Datenzeitraum vorzeitig zu starten. Das ist die einfachste Option für die meisten Reisenden, da es Stress am Flughafen vermeidet.
Andere Tarife beginnen, sobald die eSIM installiert oder aktiviert wird. Wenn das auf deinen Tarif zutrifft, ist es sinnvoll, bis kurz vor der Abreise oder Ankunft zu warten. Prüfe immer die Aktivierungsrichtlinien, bevor du installierst. Ein günstiger Tarif hört auf, günstig zu sein, wenn einer deiner bezahlten Tage verbraucht wird, während du noch zu Hause bist.
Wichtige Einstellungen nach der Installation
Die Installation der eSIM ist nur die halbe Miete. Im nächsten Schritt muss sichergestellt werden, dass dein iPhone sie so verwendet, wie du es möchtest.
Wenn du Roaminggebühren deines US-Anbieters vermeiden möchtest, deaktiviere den Mobilfunkdaten-Wechsel. Das verhindert, dass dein iPhone bei Signalwechseln auf deine Hauptleitung für Daten zurückgreift. Bestätige anschließend, dass deine Reise-eSIM unter Mobilfunkdaten ausgewählt ist.
Wenn du deine Heimatnummer für iMessage, FaceTime oder den Empfang von SMS aktiv lässt, funktioniert das problemlos. Beachte jedoch, dass einige Anbieter internationale Nutzung berechnen, auch wenn Daten deaktiviert sind. Wenn das Vermeiden von Kosten Priorität hat, schalten viele Reisende ihre Hauptleitung für die Reise aus und nutzen die eSIM für datenbezogene Apps wie WhatsApp, Google Maps, Uber und E-Mail.
Überprüfe auch die APN-Einstellungen, wenn dein Anbieter diese angibt. Viele Tarife konfigurieren sich automatisch, aber einige erfordern eine manuelle APN-Eingabe. Wenn Daten nicht funktionieren, obwohl die eSIM aktiv und mit einem lokalen Netzwerk verbunden ist, ist dies oft der Grund.
Fehlerbehebung, wenn die eSIM installiert ist, aber nicht funktioniert
Wenn deine eSIM auf dem iPhone angezeigt wird, du aber trotzdem keine Daten hast, beginne mit den einfachen Prüfungen. Stelle sicher, dass die eSIM-Leitung eingeschaltet, für Mobilfunkdaten ausgewählt und - falls erforderlich - Roaming aktiviert ist. Starte dann das Telefon neu.
Wenn das nicht hilft, gehe zu Einstellungen, Mobilfunk, wähle die eSIM aus und bestätige, dass die Leitung aktiv ist. Du kannst auch versuchen, den Flugzeugmodus 10 Sekunden lang einzuschalten und dann wieder auszuschalten. Dadurch wird das iPhone gezwungen, sich erneut mit verfügbaren Netzwerken zu verbinden.
Auch die Netzwerkauswahl kann eine Rolle spielen. In manchen Ländern funktioniert die automatische Netzwerkauswahl am besten. In anderen hilft es, manuell zu einem unterstützten lokalen Netzwerk zu wechseln. Wenn dein Anbieter bevorzugte Anbieter auflistet, nutze diese Liste.
Noch etwas überrascht Reisende häufig: Viele Reise-eSIMs sind nur für Daten gedacht. Das bedeutet, dass du möglicherweise keine lokale Telefonnummer oder herkömmlichen Sprachdienst erhältst. Daten-Apps funktionieren weiterhin normal, aber Standard-Anrufe und SMS möglicherweise nicht.
Können eSIM und physische SIM gleichzeitig genutzt werden?
Ja, in den meisten Fällen. Das ist einer der größten Vorteile der Nutzung einer Reise-eSIM auf dem iPhone. Du kannst deine reguläre SIM oder primäre eSIM für deine Heimatnummer behalten, während du eine zweite eSIM für günstigere Reisedaten verwendest.
Der Kompromiss besteht darin, dass du deine Einstellungen bewusst konfigurieren musst. Wenn beide Leitungen aktiv bleiben und dein iPhone automatisch zwischen Daten wechseln darf, kann es passieren, dass du die falsche Leitung verwendest. Reisende, denen Kostenkontrolle besonders wichtig ist, legen die Reise-eSIM normalerweise als einzige Datenleitung fest und deaktivieren den unnötigen Zugriff auf die Heimatleitung.
Das ist besonders hilfreich für kurze Reisen. Du behältst bei Bedarf Zugang zu deiner normalen Nummer, vermeidest aber den Kauf eines teuren Roamingpakets bei deinem regulären Anbieter.
Ein paar iPhone-spezifische Fragen von Reisenden
Wenn du eine eSIM versehentlich gelöscht hast, kannst du sie möglicherweise nicht neu installieren, es sei denn, dein Anbieter erlaubt die Wiederverwendung. Einige QR-Codes sind einmalig verwendbar.
Wenn deine Kamera den QR-Code nicht scannt, erhöhe die Bildschirmhelligkeit auf dem anderen Gerät oder drucke den Code aus. Du kannst auch die manuelle Eingabe verwenden, wenn dein Anbieter dies unterstützt.
Wenn du ein in den USA gekauftes iPhone 14 oder ein neueres Modell verwendest, beachte, dass diese Telefone möglicherweise nur eSIM unterstützen. Das ist kein Problem für Reisen, bedeutet aber, dass alle deine Mobiltarife digital verwaltet werden müssen.
Wenn du Optionen vor dem Kauf vergleichst, achte genau auf Länderabdeckung, Datenmenge, Gültigkeitszeitraum und ob der Tarif bei der Installation oder beim ersten Netzwerkanschluss aktiviert wird. Ein niedrigerer Preis ist nicht immer das bessere Angebot, wenn das Gültigkeitsfenster zu kurz oder die Abdeckung begrenzt ist. Plattformen wie CheapereSIM sind genau für diesen Vergleichsschritt konzipiert, der Geld sparen kann, bevor die Einrichtung überhaupt beginnt.
Die Installation einer Reise-eSIM auf dem iPhone ist nicht kompliziert, sobald du weißt, wo sich die wichtigsten Einstellungen befinden. Führe die Einrichtung durch, solange du noch eine zuverlässige Internetverbindung hast, prüfe noch einmal, welche Leitung die Daten verwaltet, und achte sorgfältig auf den Aktivierungszeitpunkt. Ein paar Minuten Vorbereitung vor deiner Reise können dich davor bewahren, Roaminggebühren zu zahlen, sobald dein Flugzeug landet.