Du landest, schaltest den Flugzeugmodus aus und merkst, dass dein Handy noch versucht, sich mit deinem Heimanbieter zu verbinden. Das ist meistens der Moment, in dem Menschen suchen, wie man einen eSIM QR-Code schnell installiert - weil sie keine Zeit an einem Flughafen-Kiosk verschwenden oder Roaming-Gebühren zahlen möchten, nur um Maps zu öffnen.
Die gute Nachricht ist, dass die Installation einer eSIM über einen QR-Code normalerweise eine Sache von zwei Minuten ist. Die weniger gute Nachricht ist, dass die genauen Schritte je nach Handy leicht variieren und ein paar kleine Fehler den Prozess verlangsamen können. Wenn du weißt, was du vor dem Scannen prüfen musst, ist die Einrichtung einfach.
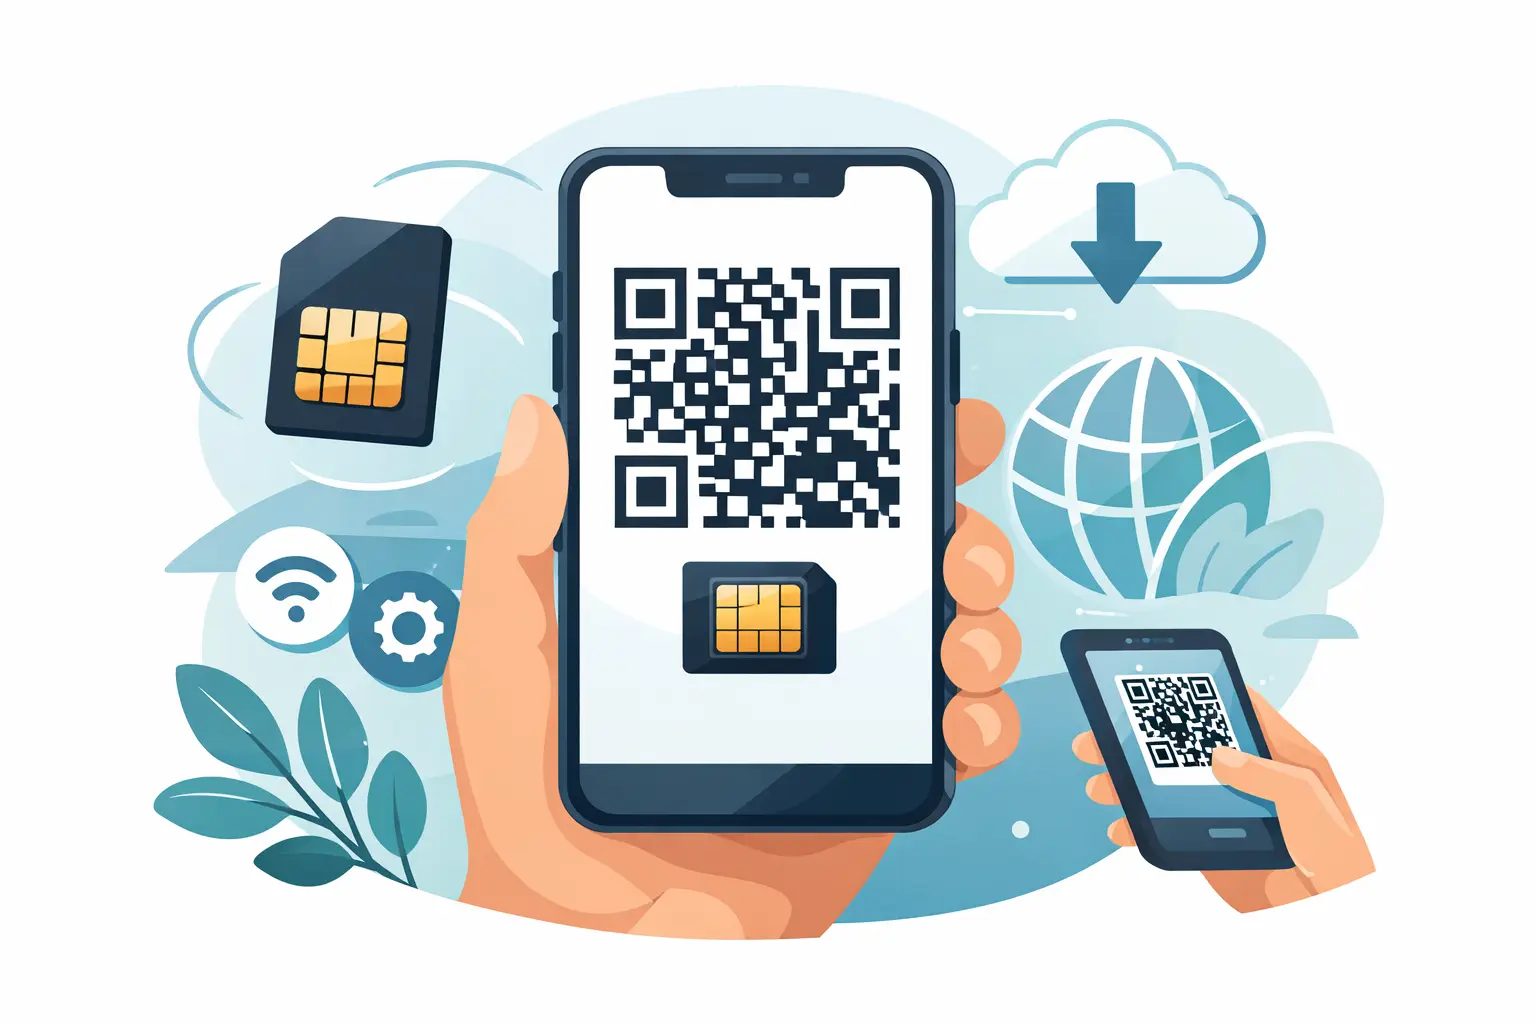
eSIM QR-Code Schritt für Schritt installieren
Die meisten Reise-eSIMs werden nach dem Kauf per E-Mail als QR-Code zugestellt. Dieser Code teilt deinem Handy mit, welchen Mobilfunktarif es herunterladen und aktivieren soll. Es gibt keine physische SIM-Karte, keinen Versand und keinen Ladenbesuch.
Stelle vor dem Start sicher, dass dein Handy eSIM unterstützt und nicht an einen Anbieter gebunden ist. Wenn dein Gerät an einen Heimanbieter gebunden ist, kann der QR-Code zwar gescannt werden, aber der Tarif lässt sich möglicherweise nicht aktivieren. Verbinde dich außerdem mit einem stabilen Wi-Fi, da dein Handy Internetzugang benötigt, um das eSIM-Profil herunterzuladen.
Wenn der QR-Code auf demselben Handy angezeigt wird, das du verwenden möchtest, kein Problem. Du kannst in der Regel manuell installieren, indem du die SM-DP+-Adresse und den Aktivierungscode eingibst, anstatt zu scannen. Viele Anbieter bieten beide Optionen in der Einrichtungs-E-Mail an.
eSIM QR-Code auf dem iPhone installieren
Gehe auf dem iPhone zu Einstellungen, dann zu Mobilfunk oder Mobile Daten, dann zu eSIM hinzufügen. Bei manchen iOS-Versionen siehst du stattdessen Mobilfunktarif hinzufügen. Tippe auf die Option, einen QR-Code zu verwenden, und halte die Kamera auf den Code.
Dein Handy sollte den Tarif innerhalb weniger Sekunden erkennen. Tippe auf Weiter oder Mobilfunktarif hinzufügen und folge dann den Anweisungen, um die Leitung zu benennen. Verwende einen Namen, der beim Reisen sinnvoll ist, wie zum Beispiel Reise-eSIM oder Japan Daten, damit du nicht versehentlich die falsche Leitung nutzt.
Nach der Installation fragt das iPhone möglicherweise, wie du deine Leitungen für Standard-Telefonie, iMessage, FaceTime und mobile Daten nutzen möchtest. Bei den meisten Reise-Daten-eSIMs kannst du deine primäre SIM für Telefonie und SMS behalten, wenn nötig, und mobile Daten auf die Reise-eSIM umschalten. Falls dein Anbieter empfiehlt, Daten-Roaming für die eSIM zu aktivieren, tue das ebenfalls. Bei Reise-eSIMs ist Roaming auf der eSIM selbst oft erforderlich, da der Tarif über lokale Partnernetzwerke verbindet.
eSIM QR-Code auf Android installieren
Die Android-Schritte hängen von der Marke ab, aber der Ablauf ist ähnlich. Öffne Einstellungen, dann gehe zu Verbindungen, Netzwerk & Internet oder Mobilnetzwerk. Suche nach SIM-Manager, SIMs oder Mobilfunktarif hinzufügen. Wähle dann eSIM hinzufügen oder SIM herunterladen.
Wähle die Option zum Scannen eines QR-Codes und halte die Kamera auf den Code. Sobald das Profil erscheint, bestätige den Download und die Aktivierung. Wie beim iPhone kannst du bei Android die eSIM benennen und auswählen, welche SIM Daten, Anrufe und Nachrichten übernimmt.
Bei Samsung-Geräten ist der Pfad oft Einstellungen, Verbindungen, SIM-Manager, eSIM hinzufügen. Beim Google Pixel ist es in der Regel Einstellungen, Netzwerk & Internet, SIMs, SIM hinzufügen. Bei anderen Android-Handys kann es leicht anders liegen, also suche im Einstellungen-Suchfeld nach SIM, wenn du eSIM nicht sofort findest.
Was nach der eSIM-Installation zu tun ist
Die Installation des Profils ist nur ein Teil der Arbeit. Du musst auch sicherstellen, dass dein Handy diese Leitung für Daten verwendet.
Schalte zuerst die eSIM-Leitung ein. Stelle sie dann als bevorzugte Leitung für mobile Daten ein. Wenn du unerwartete Kosten vermeiden möchtest, deaktiviere den Datenwechsel, damit dein Handy nicht zum Heimanbieter zurückspringt, wenn sich das Signal ändert. Viele Reisende schalten ihre primäre Leitung für die Reise ganz ab, besonders wenn sie nur Daten benötigen.
Überprüfe als Nächstes das Daten-Roaming auf der eSIM-Leitung. Das klingt widersprüchlich, aber bei vielen Reise-eSIM-Tarifen muss es aktiviert sein, um sich außerhalb des Heimnetzwerks des Tarifanbieters zu verbinden. Wenn du es deaktiviert lässt, kann die eSIM zwar korrekt installiert sein, aber trotzdem keine Daten liefern.
Gib dem Handy abschließend eine Minute Zeit. Manchmal registriert sich das Netzwerk sofort. In anderen Fällen musst du möglicherweise den Flugzeugmodus ein- und ausschalten oder das Gerät neu starten. Das ist normal.
Häufige Probleme bei der eSIM QR-Code-Installation
Das häufigste Problem ist das Scannen des QR-Codes mit demselben Handy, das die eSIM benötigt. Ein Handy kann seinen eigenen Bildschirm nicht einfach scannen, es sei denn, du verwendest ein anderes Gerät oder druckst den Code. Verwende in diesem Fall stattdessen die manuelle Installationsmethode.
Ein weiteres häufiges Problem ist schlechtes Wi-Fi. Der QR-Code selbst wird sofort gescannt, aber das eSIM-Profil muss noch heruntergeladen werden. Schwaches Hotel-Wi-Fi kann den Prozess unterbrechen und dazu führen, dass Leute denken, der Code sei defekt.
Die Anbietersperre ist ein weiterer häufiger Grund. Viele US-Reisende gehen davon aus, dass eSIM-Unterstützung und Anbieter-Entsperrung dasselbe sind. Das ist nicht der Fall. Dein iPhone oder Android unterstützt eSIM möglicherweise technisch, aber wenn es an einen Anbieter gebunden ist, kann eine internationale Reise-eSIM bei der Aktivierung fehlschlagen.
Abgelaufene oder bereits verwendete QR-Codes können ebenfalls Probleme verursachen. Manche eSIM QR-Codes sind nur für eine einmalige Installation vorgesehen. Wenn du die eSIM löschst und versuchst, denselben Code später erneut zu verwenden, funktioniert das möglicherweise nicht. Das hängt vom Anbieter ab, es lohnt sich also, die Installationsrichtlinien zu prüfen, bevor du einen Tarif entfernst.
eSIM-Aktivierungsprobleme schnell beheben
Wenn die eSIM als installiert angezeigt wird, aber kein Dienst verfügbar ist, beginne mit den Grundlagen. Stelle sicher, dass die eSIM-Leitung eingeschaltet, als Datenleitung eingestellt und Roaming aktiviert ist. Prüfe dann, ob die APN-Einstellungen automatisch hinzugefügt wurden. Die meisten Tarife erledigen das selbst, aber einige erfordern eine manuelle APN-Eingabe.
Wenn der QR-Code überhaupt nicht gescannt werden kann, erhöhe die Bildschirmhelligkeit, wenn der Code auf einem anderen Gerät angezeigt wird, reinige die Kameralinse und versuche es aus einem gleichmäßigen Abstand. Wenn es immer noch nicht klappt, gib die Einrichtungsdaten manuell über die Angaben aus der Anbieter-E-Mail ein.
Wenn die Aktivierung feststeckt, starte das Handy neu und warte ein paar Minuten in einem Bereich mit gutem Signal. Einige Netzwerke benötigen kurze Zeit zur Bereitstellung. Wenn du einen Tarif gekauft hast, der erst im Zielland startet, wird er möglicherweise erst dann verbunden, wenn du dort ankommst.
Dieser letzte Punkt ist wichtig. Nicht jede eSIM aktiviert sich in dem Moment, in dem sie installiert wird. Manche Tarife aktivieren sich, wenn sie sich zum ersten Mal mit einem unterstützten Netzwerk verbinden. Wenn du sie zu Hause vor dem Flug installierst, ist das normalerweise in Ordnung, aber kein Signal vor der Abreise bedeutet nicht immer, dass etwas nicht stimmt.
Wann du deine Reise-eSIM installieren solltest
Der sicherste Zeitpunkt ist in der Regel der Tag vor der Reise oder am Flughafen, während du noch zuverlässiges Wi-Fi hast. Das gibt dir Zeit, Einrichtungsprobleme ohne Druck zu beheben. Bis nach der Landung zu warten kann immer noch funktionieren, aber dann bist du auf Flughafen-Wi-Fi oder eine zweite Verbindungsquelle angewiesen.
Es gibt jedoch einen Kompromiss. Wenn dein Tarif die Tage ab dem Moment der Aktivierung und nicht ab der ersten Netzwerknutzung zählt, kann eine zu frühe Installation einen Teil der Gültigkeitsdauer verschwenden. Prüfe immer die Aktivierungsregel. Manche Reisende fahren am besten, wenn sie früh installieren und die Leitung bis zur Ankunft ausgeschaltet lassen. Andere sollten bis kurz vor der Abreise warten.
Ein paar praktische Tipps, die Zeit und Geld sparen
Mache einen Screenshot deines QR-Codes oder halte die Installations-E-Mail auf einem zweiten Gerät leicht zugänglich. Wenn während der Einrichtung etwas schief geht, möchtest du nicht in deinem Posteingang suchen, während du im Ankunftsbereich stehst.
Benenne deine Leitungen klar. Wenn sowohl deine Heim-SIM als auch deine Reise-eSIM Primär oder Sekundär heißen, ist es leichter, die falsche zu verwenden und Roaming-Gebühren auszulösen. Klare Bezeichnungen verhindern teure Fehler.
Wenn der Preis eine Rolle spielt, vergleiche die Tarifgrößen vor dem Kauf. Unbegrenzte Tarife klingen einfach, sind aber nicht immer die günstigste Option für einen kurzen Städtetrip. Für leichtere Nutzung wie Karten, Nachrichten und Fahrten-Apps kostet ein kleineres Datenpaket oft weniger und funktioniert genauso gut. Genau hier kann ein Marktplatz-Ansatz wie CheapereSIM Reisenden helfen, Optionen zu vergleichen, anstatt für den ersten gesehenen Tarif zu viel zu bezahlen.
Woran du erkennst, dass die eSIM funktioniert
Sobald alles eingerichtet ist, suche nach Signalbalken auf der eSIM-Leitung und teste ein paar grundlegende Apps bei ausgeschaltetem Wi-Fi. Öffne Karten, sende eine Nachricht und lade eine Webseite. Wenn das über mobile Daten funktioniert, ist die Installation abgeschlossen.
Keine Panik, wenn der Netzwerkname unbekannt aussieht. Reise-eSIMs verbinden sich oft über lokale Partneranbieter, sodass das angezeigte Netzwerk vom eSIM-Markennamen abweichen kann, den du gekauft hast. Entscheidend ist, dass mobile Daten funktionieren und die Leitung den richtigen Tarif verwendet.
Eine Reise-eSIM sollte die Ankunft einfacher machen, nicht technischer. Wenn du mit einem entsperrten Handy, stabilem Wi-Fi und den richtigen Dateneinstellungen beginnst, ist die Installation über einen QR-Code normalerweise der schnellste Teil der Reise.